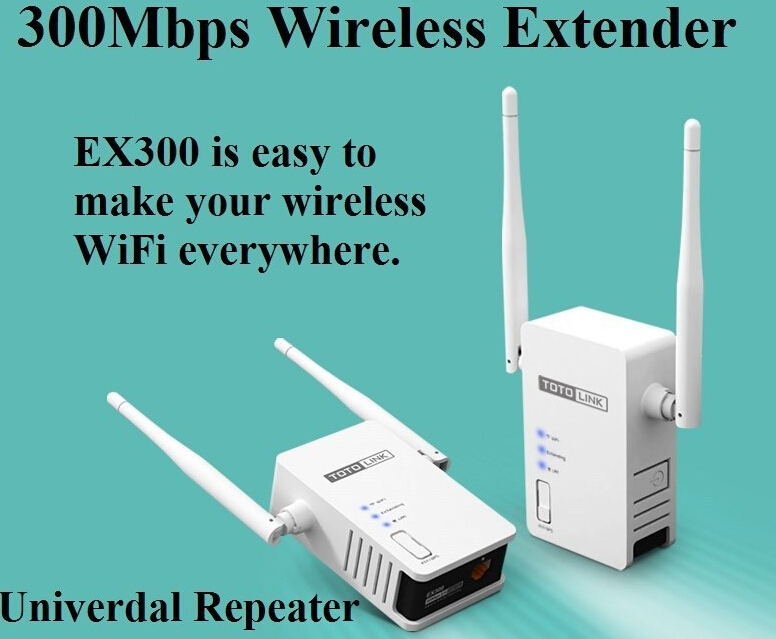
There are 4 steps to teach you set up and install your Totolink EX300 Extender, Also, you can download the User manual (PDF).
This is a 2.4G wireless range extender that is designed to expand your existing wireless network signals and coverage. Users can extend their wireless network just by placing this extender between the wireless router and wireless devices. So that it can make more wireless device to access Internet, such as iPads, iPods, Notebooks, Smart Phones, Game Consoles and TV. Generally, they can effectively meet users’demands for wireless Internet access on hard-to-reach areas.
Step 1 Connecting the device
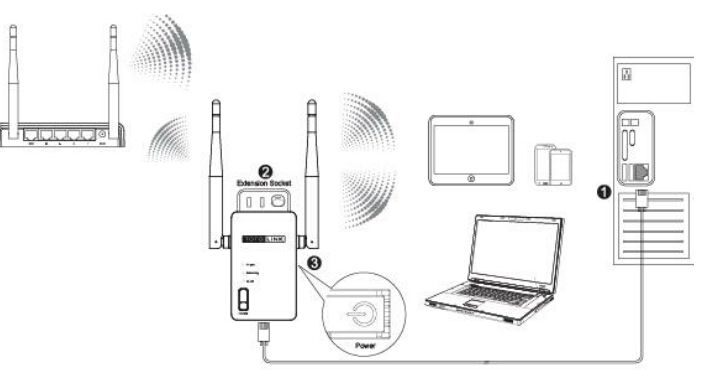
The extender provides one LAN port for PCs to connect. Please follow below steps to build a right connection between PC and this device.
1. Connect the LAN port to your computer’s network interface.
2. Plug the extender into a wall outlet.
3. Press the power ON/OFF button to start the device.
Step 2 Configure the PC
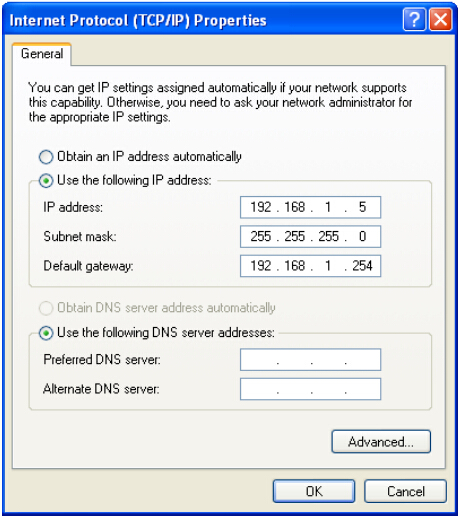
The default IP address of this extender is 192.168.1.254, the default Subnet Mask is 255.255.255.0. You can only configure the IP address of your PC manually. Please follow below steps to configure your PC correctly.
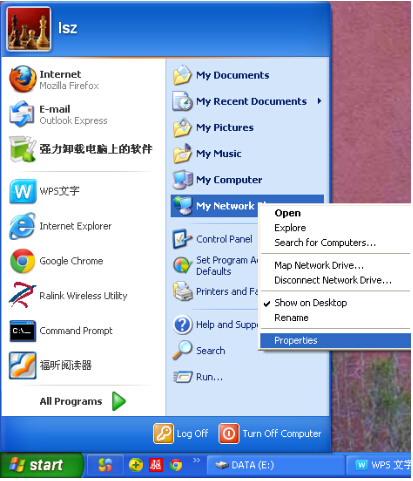
1. Right-click My Network Places on your desktop and choose Properties
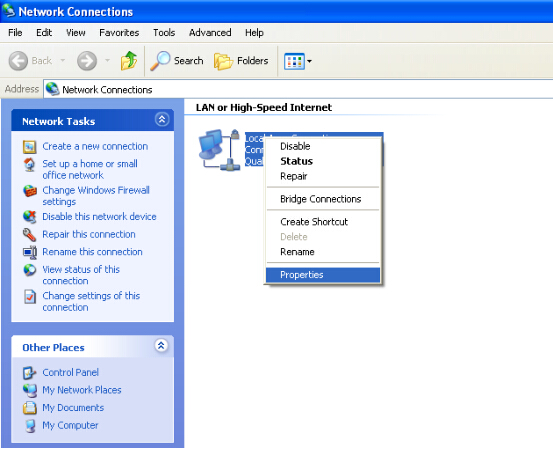
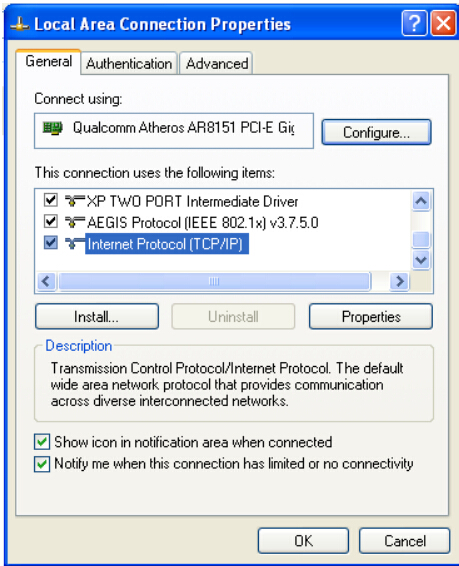
2. It will pop up the following window. Please right click Local Area Connection and choose Properties.
3. Double-click Internet Protocol(TCP/IP) :
4. Configure the IP address manually, see below:
Step 3 Basic Setup
1. Login Web Interface
With a web-based utility, for example Google Chrome, the wireless N range extender is easy to configure and manage.
Connect to the extender by typing 192.168.1.254 in the address field of Web Browser. Then press Enter key.
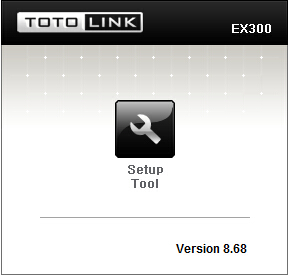
It will show up the following page:
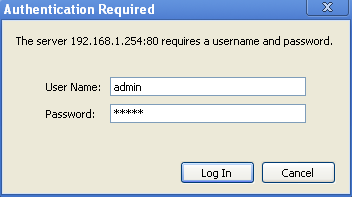
Click Setup Tool in the middle to enter the extender’s setting interface. Then it will require you to enter valid User Name and Password.
Enter admin for User Name and Password, both in lower case letters. Then click Log In button or press Enter key.
Note: If the above screen does not prompt, it means that your web-browser has been set to using a proxy. Go to Tools menu>Internet Options>Connections>LAN Settings, in the screen that appears, cancel the Using Proxy checkbox, and click OK to finish it.
Now you have logged into the web interface of the extender. The first page you can see is the current extender status.
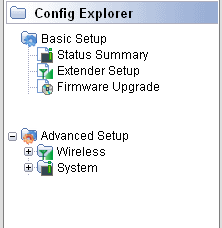
On the left, it is a guide bar:
Step 4 Quick Setup
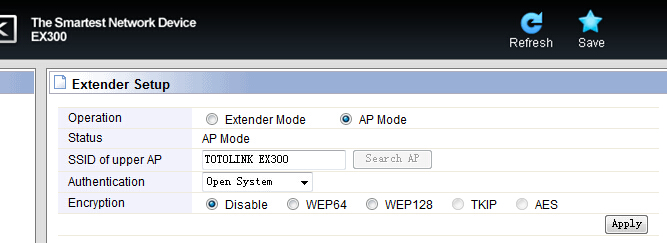
Click Extender Setup on the guide bar to configure the basic parameters of this extender to make it repeater successfully.
By default, the extender is disabled. Please click Extender Mode to enable the extender’s function:
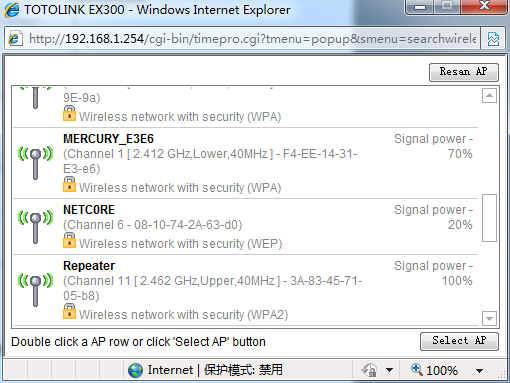
Click Search AP to choose one available AP to connect.
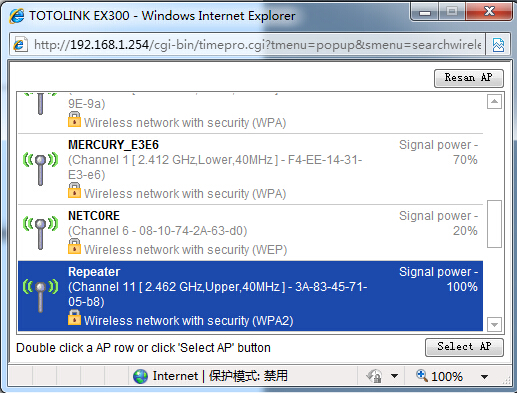
Select one SSID that you want to repeater with and then click Select AP.
If the SSID you selected is encrypted, it will pop up below window reminding you to input the network key to connect. Click OK.
The interface will get back to main page which shows the information and encryption method of your selected upper AP. Please type in the right Encryption key to connect to it successfully.
After configured correctly, click Apply to make it work.
