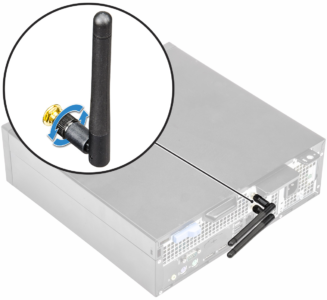
1, External antenna.
2, To install the antenna on the system:
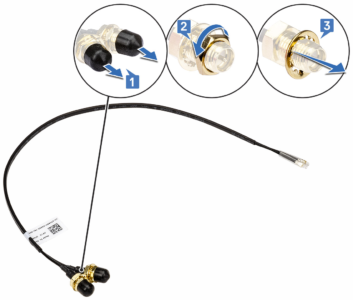
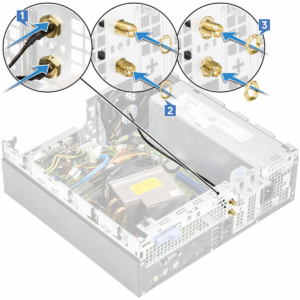
- Remove the caps from the antenna cable [1].
- Loosen and remove the nut [2].
- Remove the metallic washer [3].
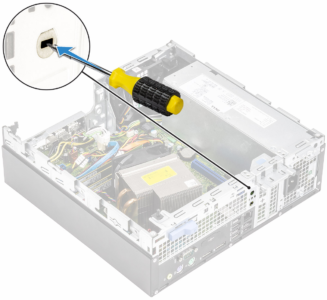
Push the blank filler with a screw driver.
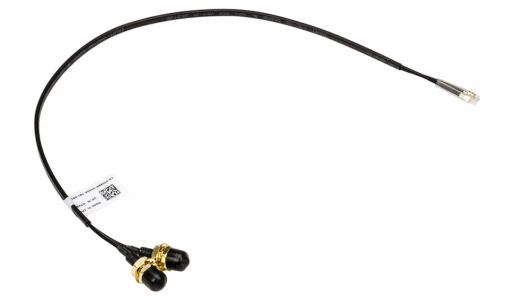
- Insert the antenna cables into the antenna slot on the chassis [1].
- Replace the metal washers on to the antenna connectors [2].
- Replace the nuts to secure the antenna connectors to the chassis [3].
- Affix the retention clip on the chassis as show in the image [1].
- Route the antenna cable through the retention clip [2].
- Pull off the insulation on the antenna cable connectors [3].
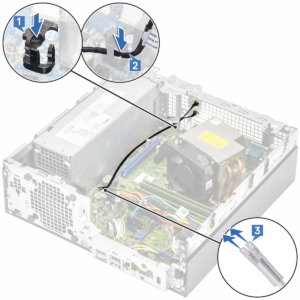
- Connect the antenna connectors to the connectors on the WLAN card.
- Tighten the antenna to the antenna cable connector screws.