
upgrading the storage on the ROG Ally 2023 is quite easy and can be done in just a few minutes. In this article, we are going to take things a step further and show you how to utilize a 2280 M.2 instead of the standard 2230 M.2 drive that comes with it. Firstly, you will need an adapter which can be found on Amazon for by searching for ROG Ally SSD adapter.
Before you start, you will want to decide how to get an operating system onto your new SSD. Are you going to clone your old drive to your new drive? Or, will you be reinstalling Windows with Asus Cloud Recovery?
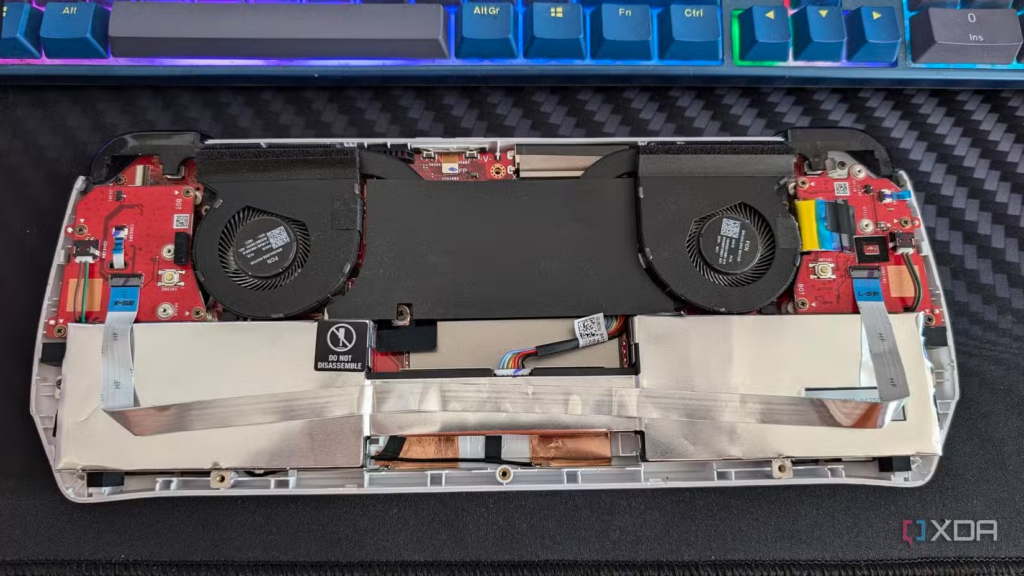
- Remove the six screws from the back side of the ROG Ally and take the back cover off.

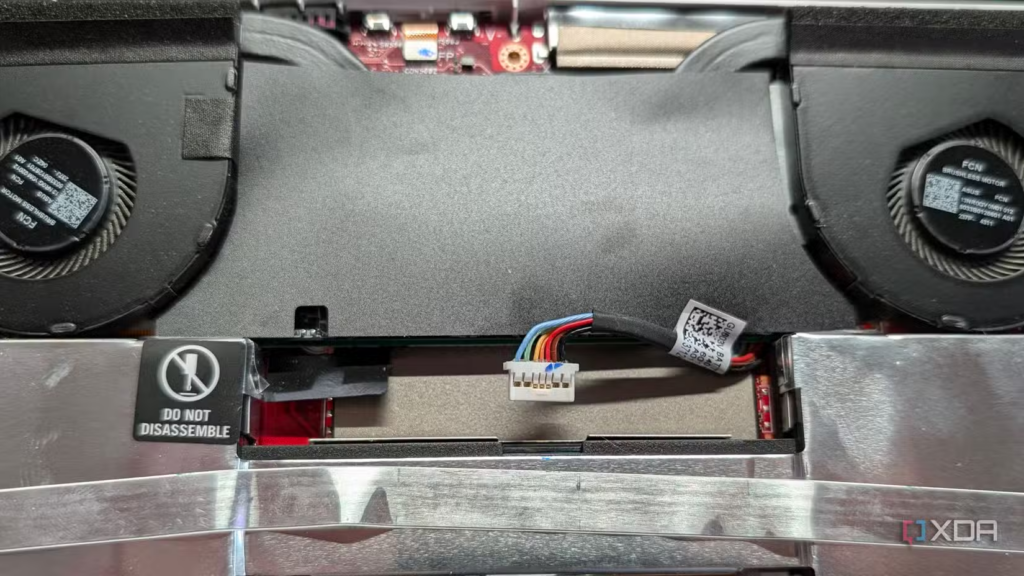
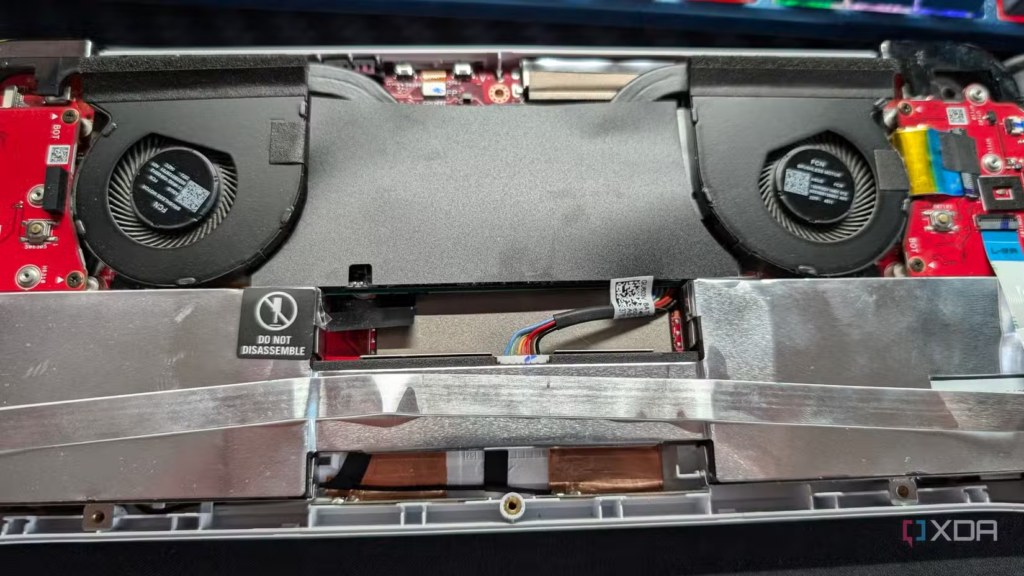
2. Disconnect the battery. Be careful when disconnecting the wire and do not pull too hard on it. Slow and gentle wins the race.
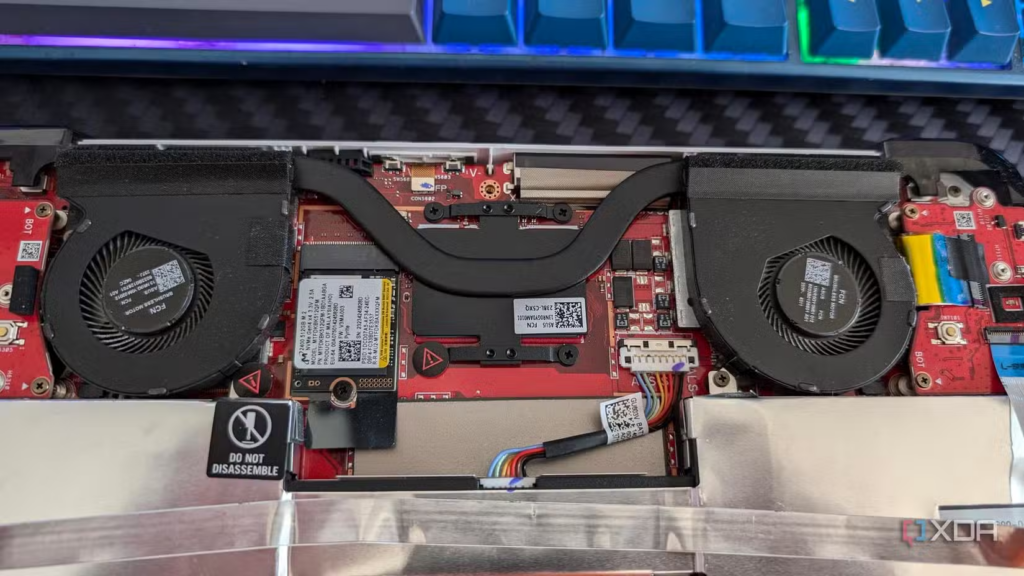
3. Remove the small black cover protecting the SSD.
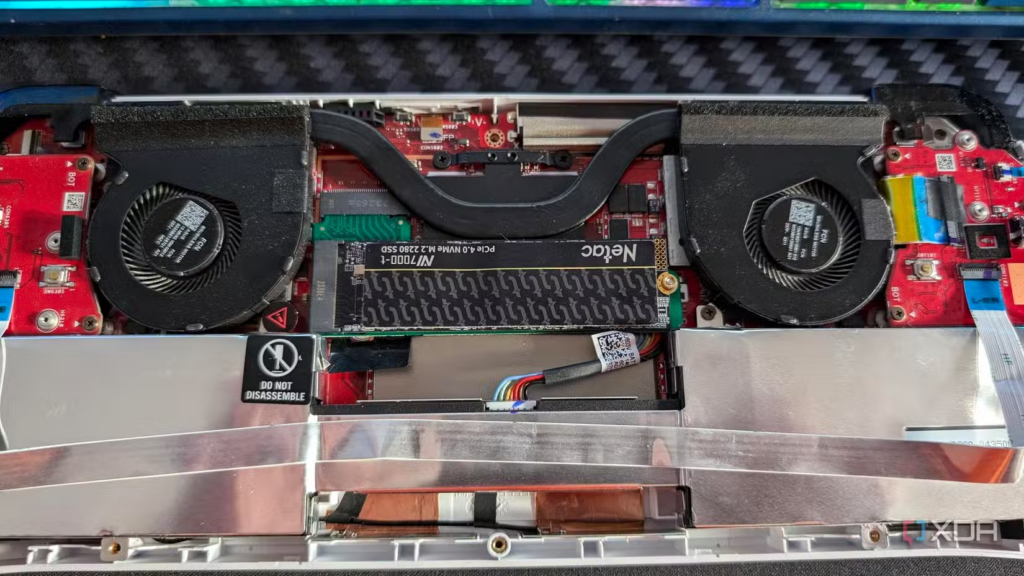
4. Remove the SSD and replace it with the adapter.
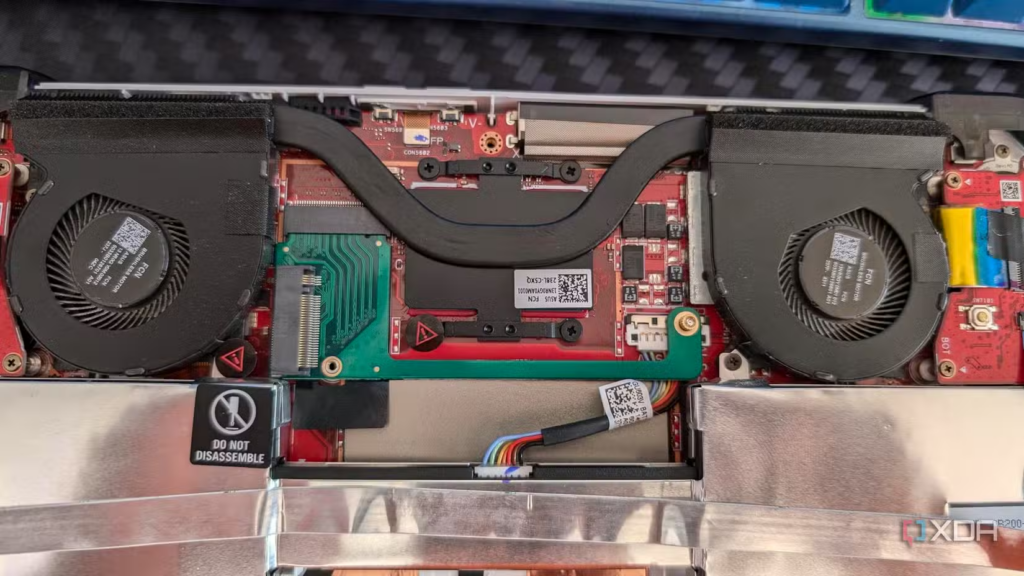
5. Install the 2280 SSD and secure it into place.
6. Replace the black SSD cover.

7. Reconnect the battery wire back to its connector.
8. Put the back casing on and tighten all the screws in place.
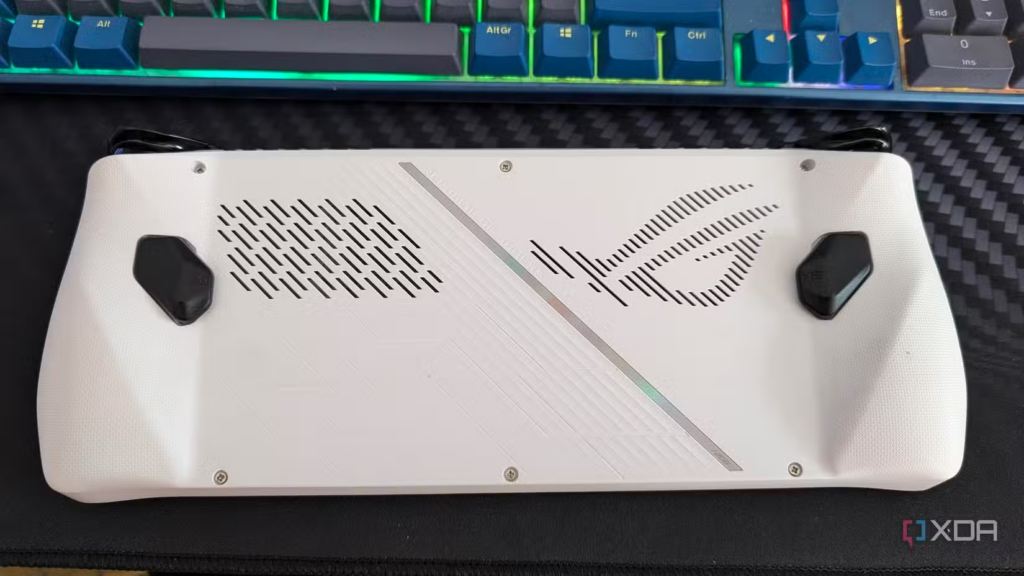
NOTE: The back paddles won’t feel responsive until all 6 of the screws on the back cover are back in place and firmly screwed in.
And you’re done! You can now utilize a standard-sized 2280 M.2 drive in your Asus ROG Ally. There are a couple of benefits to doing this, with the main one being it can be cost-effective for many users. It also doesn’t take long at all. The whole process doesn’t even take 5 minutes and, in most cases, you only have to remove a total of seven screws.
You may have to plug in the power cord the first time you turn your ROG Ally on after changing the SSD.